01
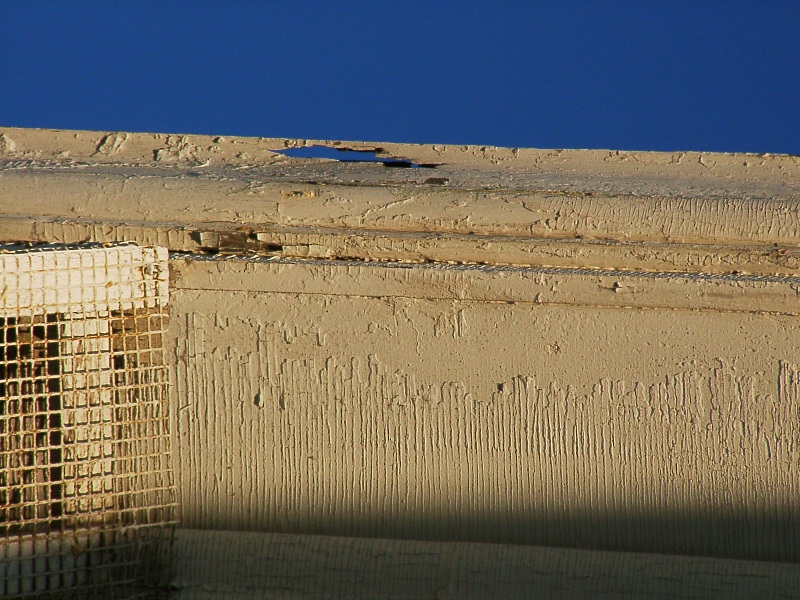
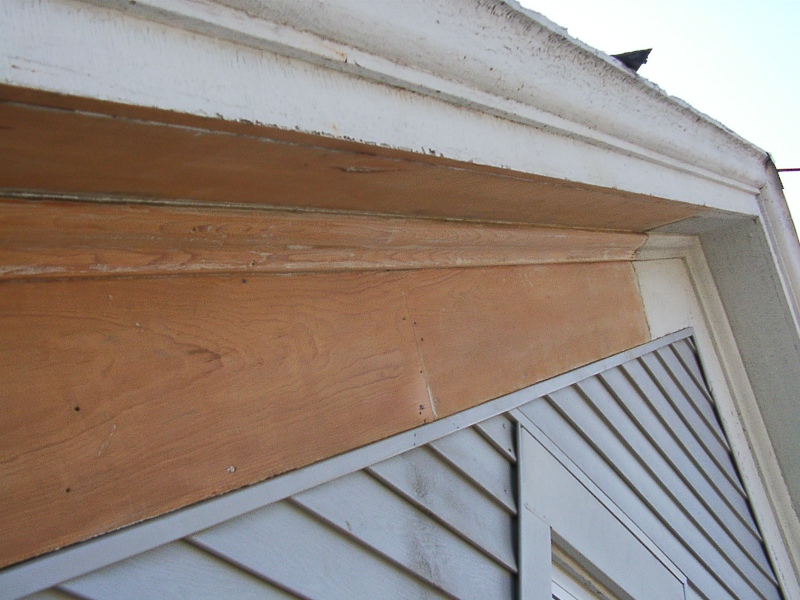
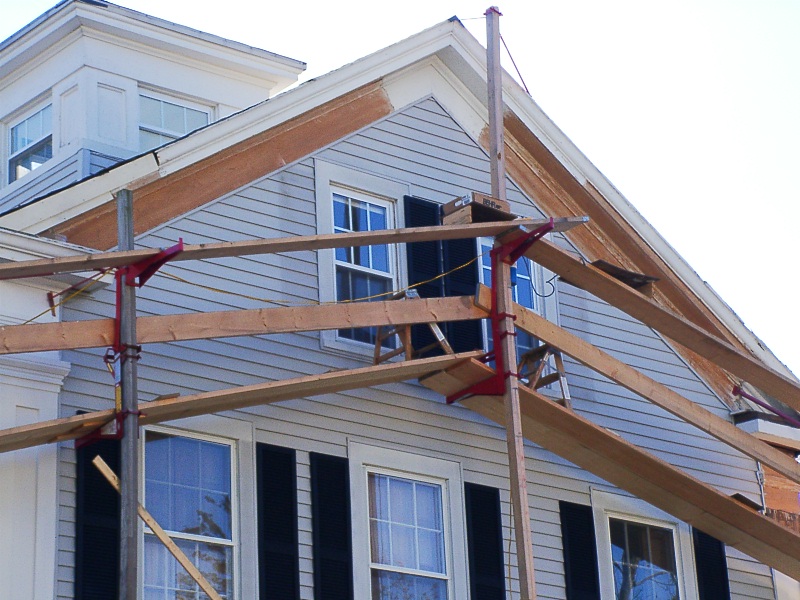
This paint is not very attractive but it is still protecting the wood from the elements. I aim to make this look band new. |
|
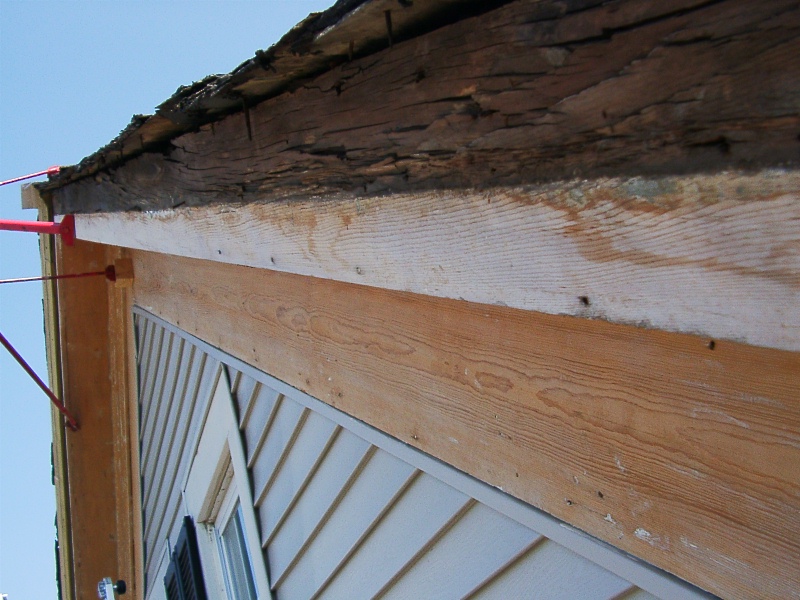
02
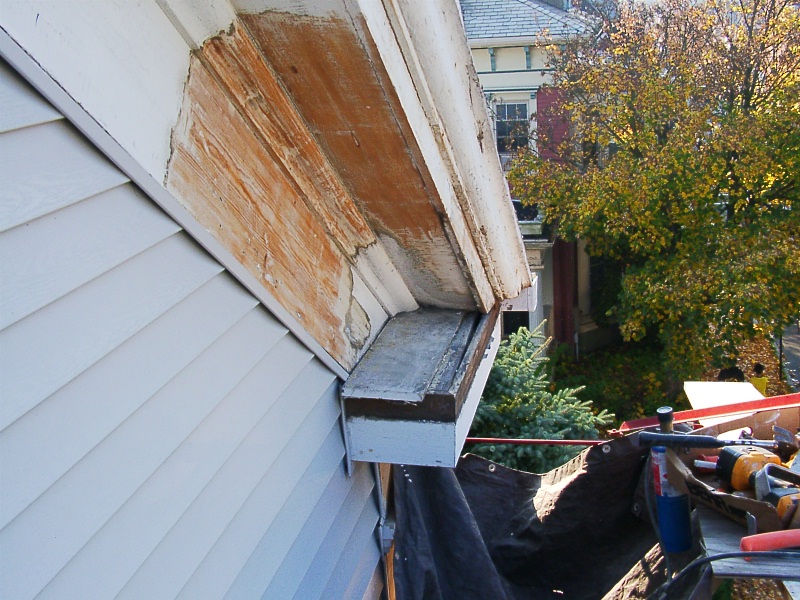
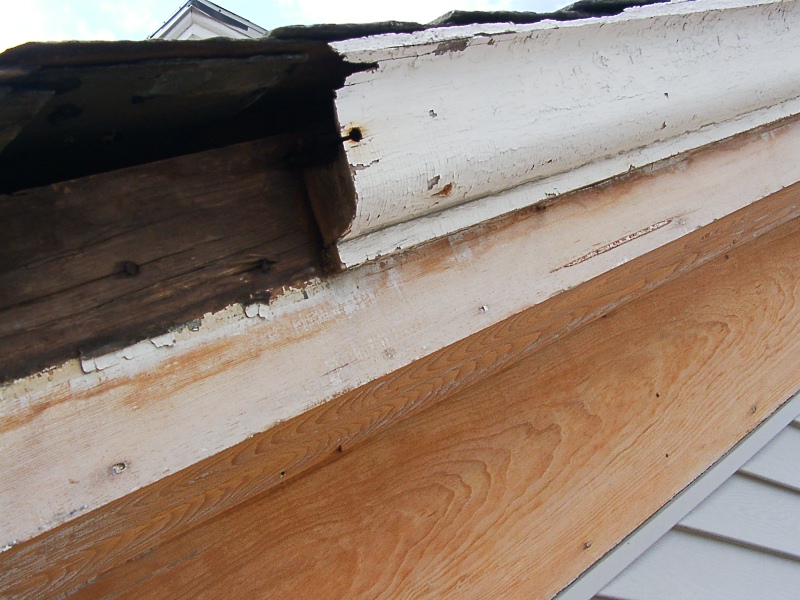
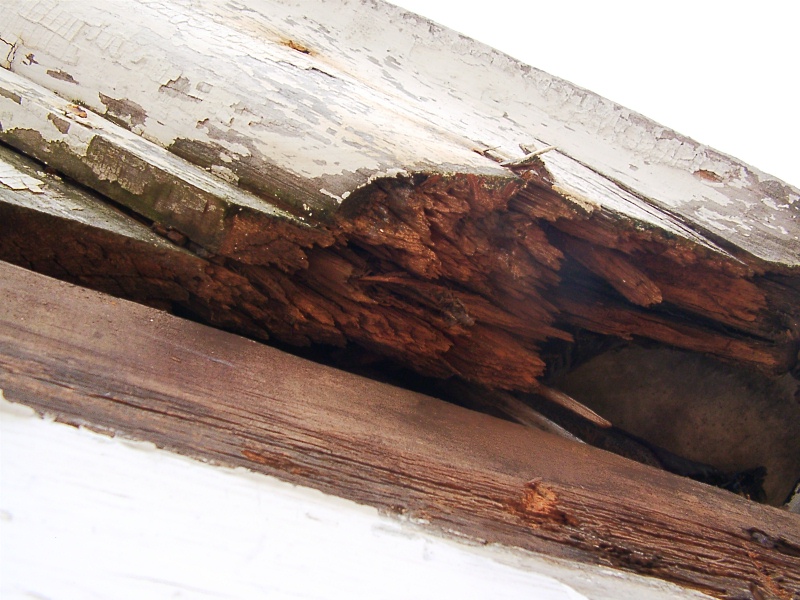
A closer look shows the rake molding is rotted through in places, and that most of the original paint is still in service. |
|
03
All the paint is coming off nicely. I'm using heat to soften the paint for scrapping. This method produces no dust. Most paint preparers today grind of the old paint leaving unsightly deep swirl marks in the wood and spews toxic lead dust in the air that falls and contaminates the surrounding ground. This method also damages the wood irreparably especially on curved surfaces. Oil paint is very hard and wood is soft, so softening the paint for removal is key in not damaging the wood. |
|
04
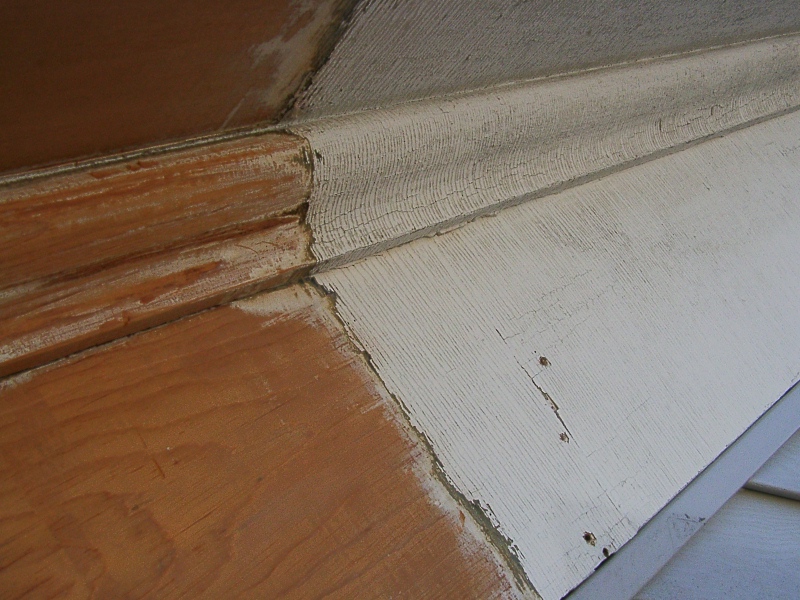
Click on this photo to see the up close detail I want to talk about. These rake boards and moldings were milled in the 1850's and you can still see the 'knife' marks from their milling. Eventually the paint cracked at all these fine knife marks. I removed these knife marks with my belt sander. You can still see them in the bare wood just before the paint line where I have yet to sand. |
|
05
One can see here I'm pretty high up here. I have a tarp in place to catch all the paint debris which I vacuum up every two feet or so. This can only be done on a non-windy day! I then belt sand to open the pores of the wood to accept the penetrating oil prime. Sanding also removes the milling knife marks (also referred to as planer skip) where the original paint and every subsequent coat had cracked along.
|
|
06
Moldings must be hand sanded the old fashioned way. I duct tape the back of a sheet of sandpaper to toughen it up so it will last longer without tearing. I form the sandpaper around a rolled rag to get the contour I need. The rag also helps insulate my hands from the heat generated which can give a burn. |
|
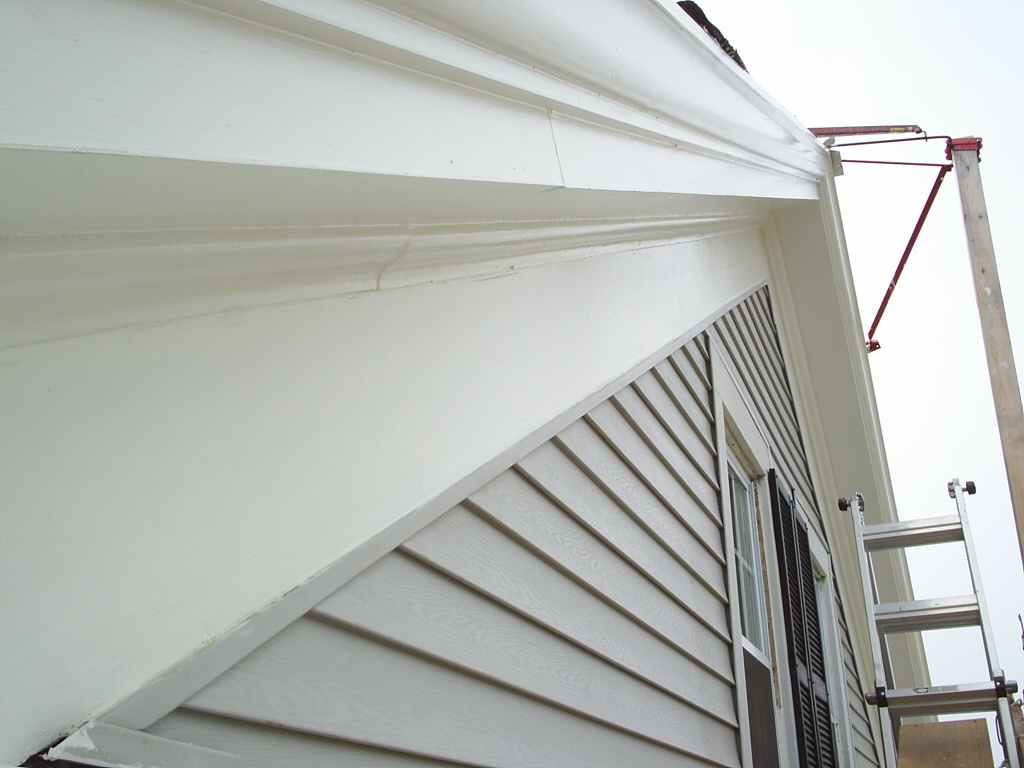
07
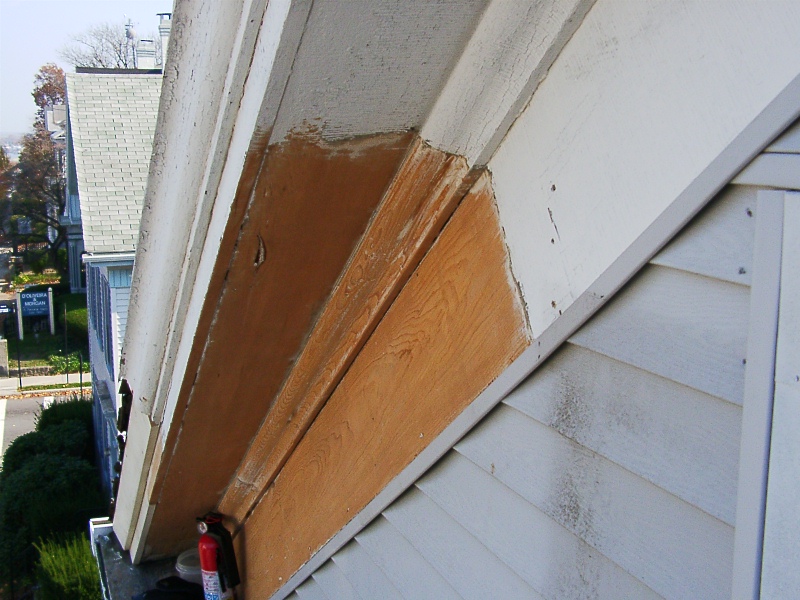
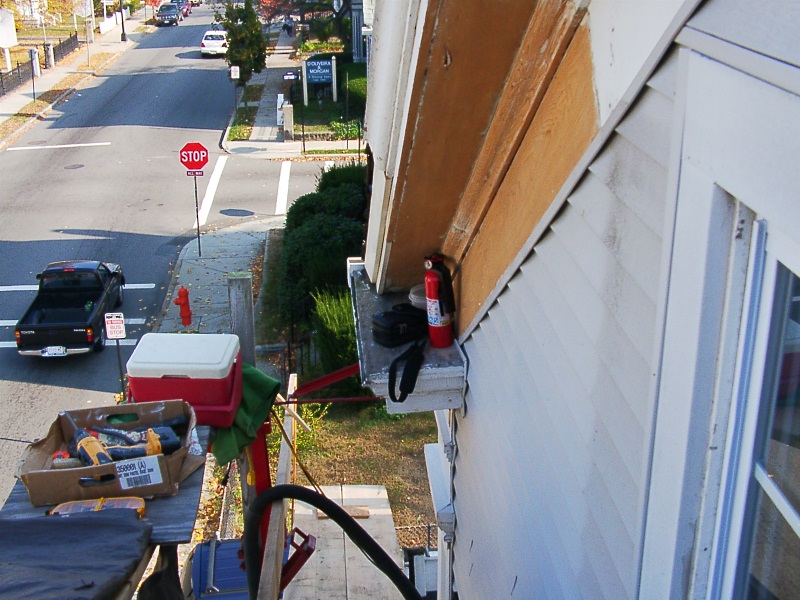
I'm now on the NW side. This shot is before sanding. Again I have a tarp set up to catch the debris and you can see my torch and other tools within easy reach. Note this return is in need of work that I'll be illustrating further down.
|
|
08
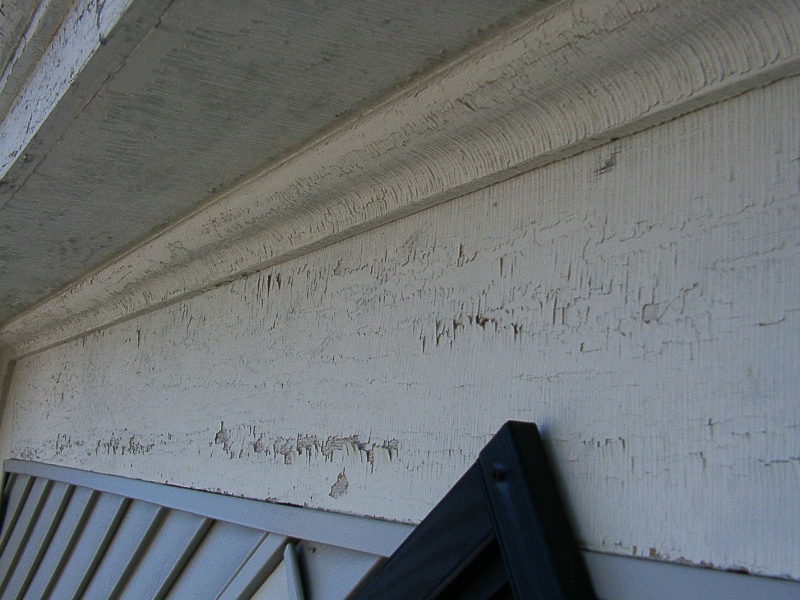
Hard to believe this job wasn't done long, long ago. Sometimes though its best it wasn't done because many workers are just in it for quick money. Anybody can make it look good the day the job is done (especially way up here). The question is, will it still look good in 10 years and longer. |
|
09
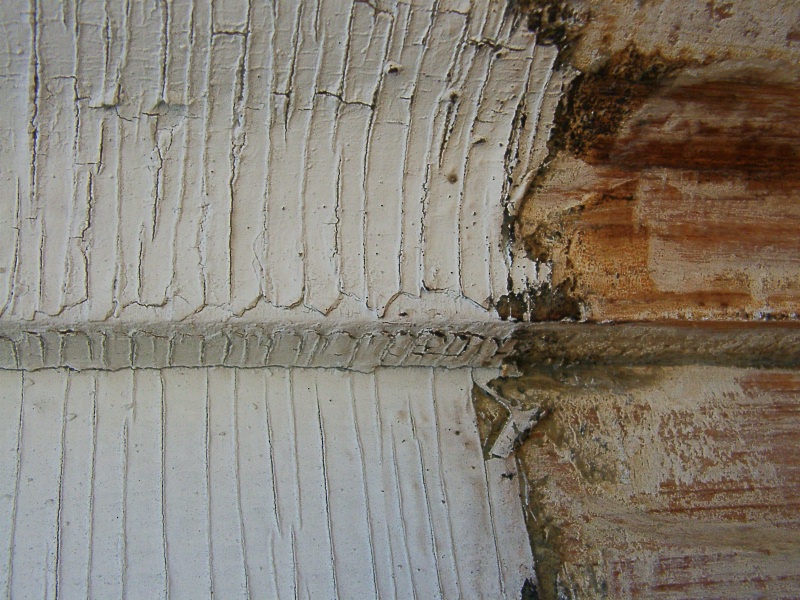
Look how this paint has cracked along the planner knife marks which were made when these boards and moldings were milled in the 1850's. Sanding is key to preventing this as well as greatly increasing adhesion. Not that this old lead based paint didn't stick well, it did, but many new work jobs today fail in a few short years and sanding is key to getting modern paints to adhere properly. |
|
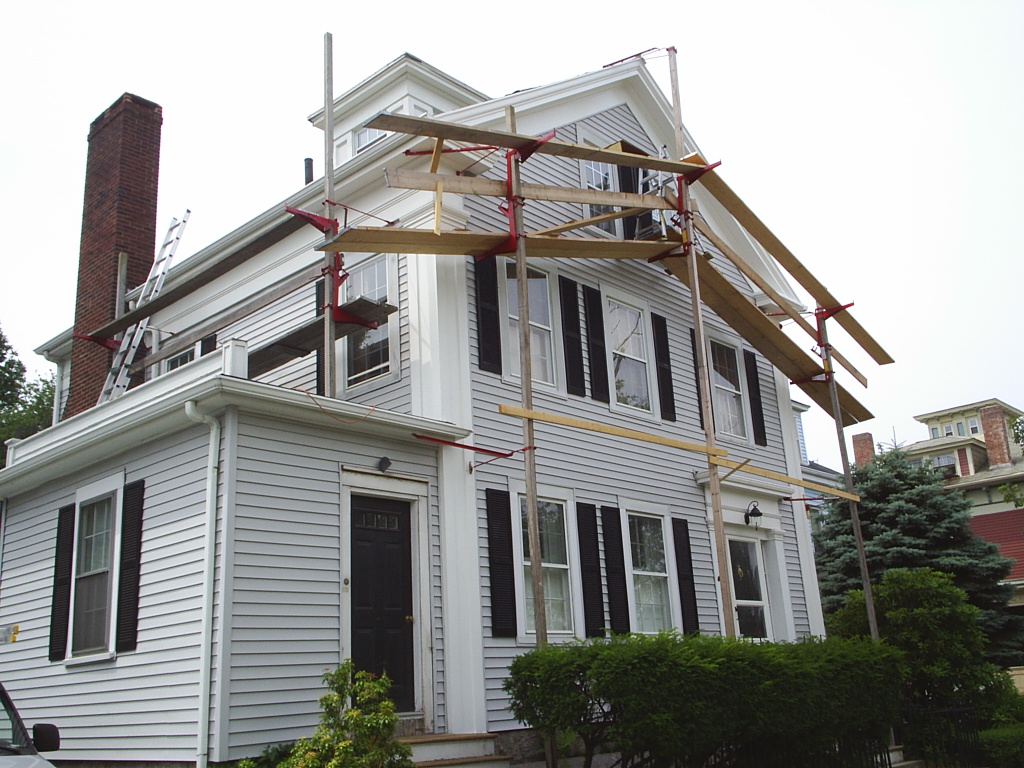
10
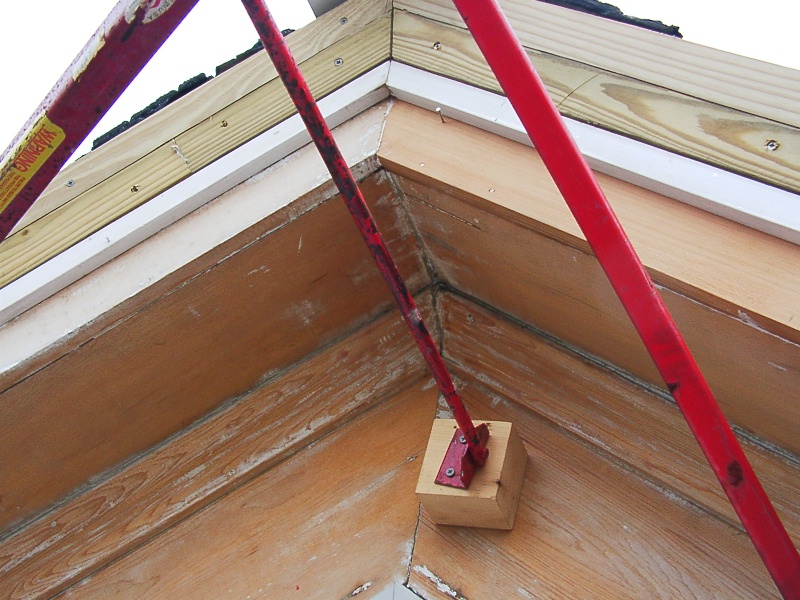
I just can't jack this stagging any higher and this peak is over my head. I'm going to have to work from a step ladder to get to the top. My center pump-jack pole is 36' feet tall! I can see why few people would tackle this job. To prevent wind from lifting and moving my stagging planks I strapped them to the pump-jacks. I also screwed my ladder to the stagging for safety. |
|
11
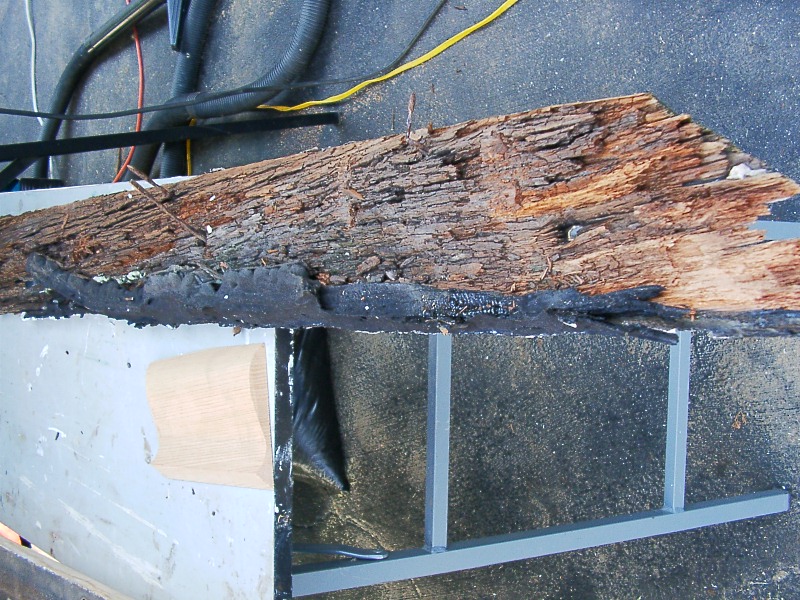
I cut of the lower section of molding because it was so rotted |
|
12
Actually there wasn't much worth saving so I took off all the rake fascia molding. |
|
13
My solution to replacing the original old growth molding milled from 4" thick stock was to mill a new face profile on an 18' 1x6" select red cedar board and fill the none visible area with PT (pressure treated) non-rot lumber. I ripped an 18' 1x3" select cedar length wise to get two 1 x 1 3/4" small boards to serve as the square part of the molding. I fastened PT 2x4's with the appropriate angle ripped on them above the 1 x 1 3/4" strips and finally added another triangular shaped PT strip to fill out the remainder of the solid backing. |
|
14
No one will ever know this is not the original crown molding. I milled this molding right on the job site with my custom-made router table set up in my Rousseau table stand. I used two different router bits that I ordered for this job and hand sanded the finished moldings. Sometimes I get so involved in my work I forget to get the camera out, wish I had here. |
|
15
This NW rake fascia is to far gone to hold any fasteners so I'm trashing it. You never know what you'll find working on older homes. Thats why I work by the hour. Working for a set price is an incentive to cut every corner to maximize profit. |
|
16
Here it is gone. This framing member is in great shape as the fascia board protected it well. Now I'll have to remove the protruding roofing nails before I can install an new fascia. |
|
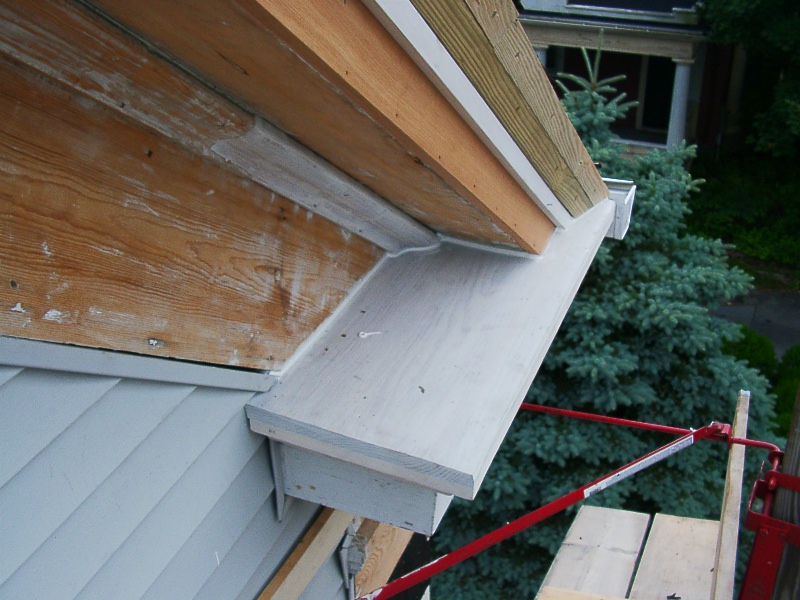
17
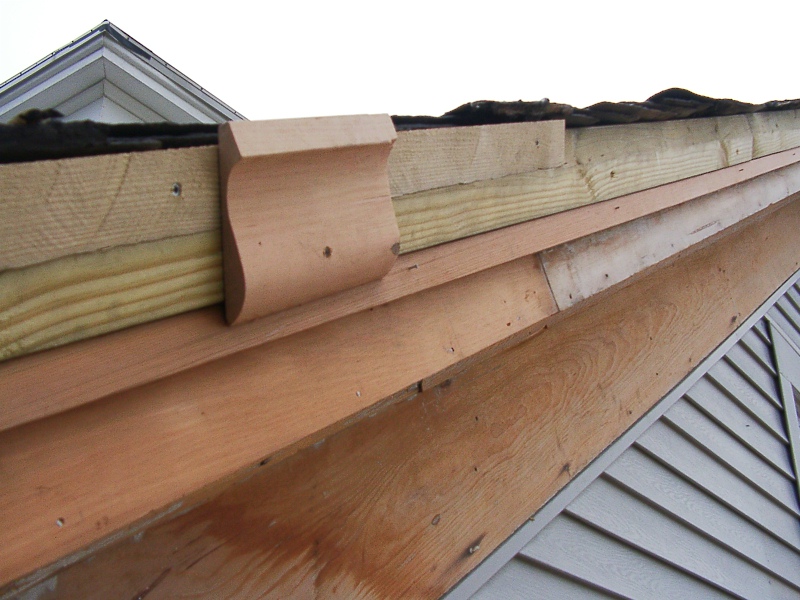
An 18' 1x8" select cedar is expensive so I used 1x4" for the exposed part and pressure treated for the hidden part. Notice the new return cap. |
|
18
I milled more crown molding that was the same as the rake molding and fastened it with stainless steel trim head screws and gorilla glue. |
|
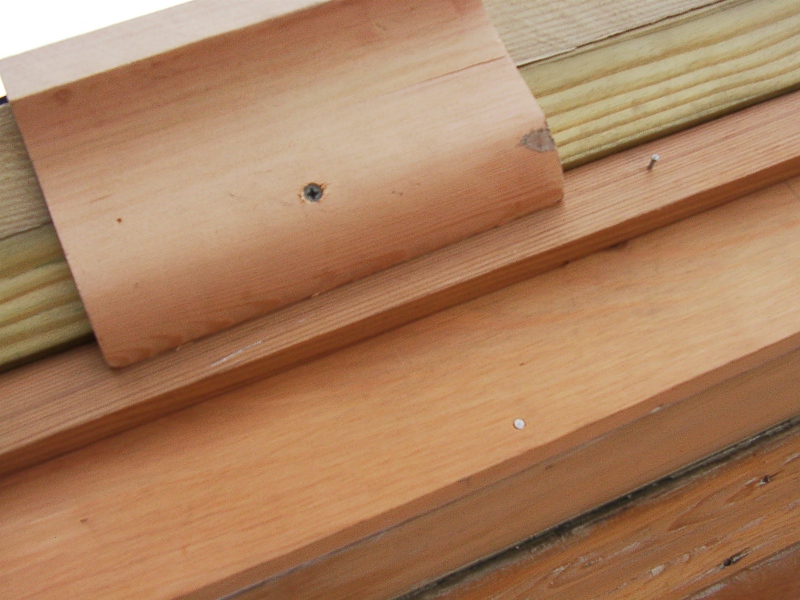
19
I made the cap by gluing up three 5/4" x 6" #1 PT boards with pipe clamps and gorilla glue. Once belt sanded and notched it slid right in. With the cap molding glued to the underside of the cap it will look like one piece as the NE original cap does. |
|
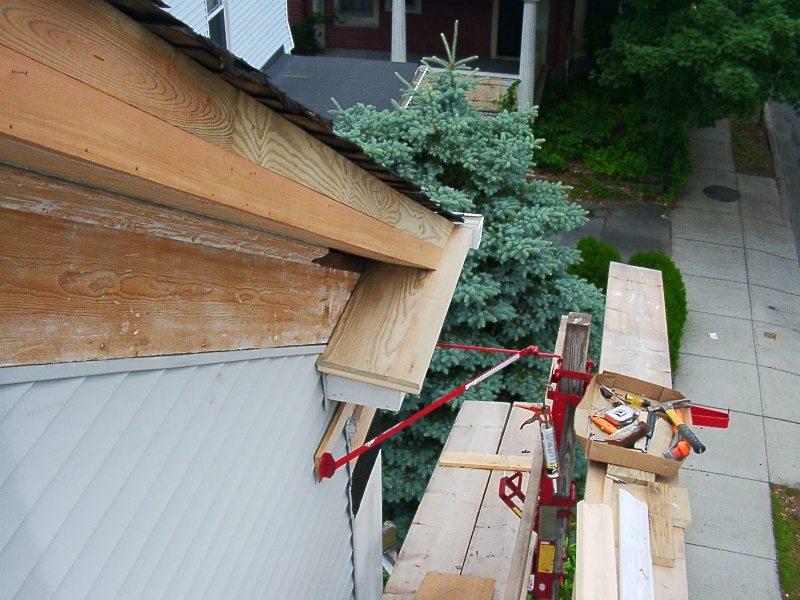
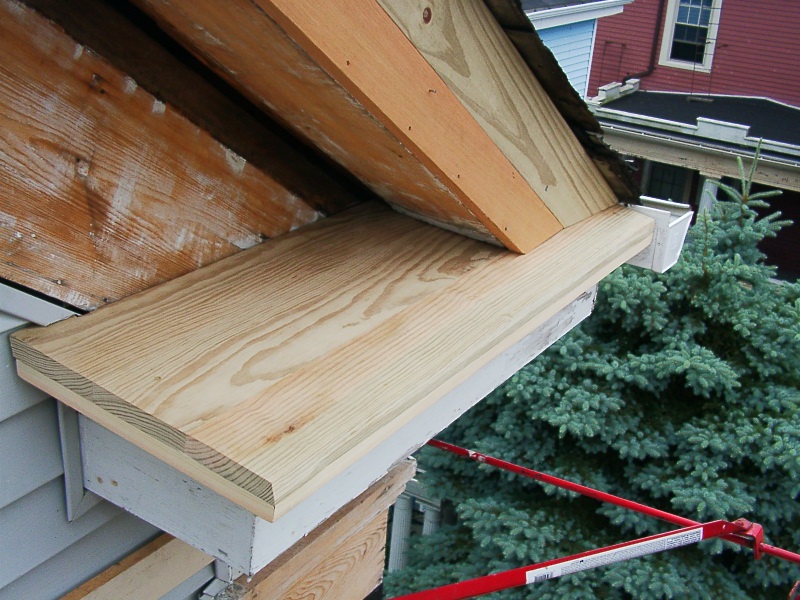
20
Before installation and caulking I pre-primed the entire piece. It was impossible to get the old paint off the molding that died into this return so I removed it to work on. Notice I'm now ready to install the large rake molding I've milled, sanded, and pre primed. |
|
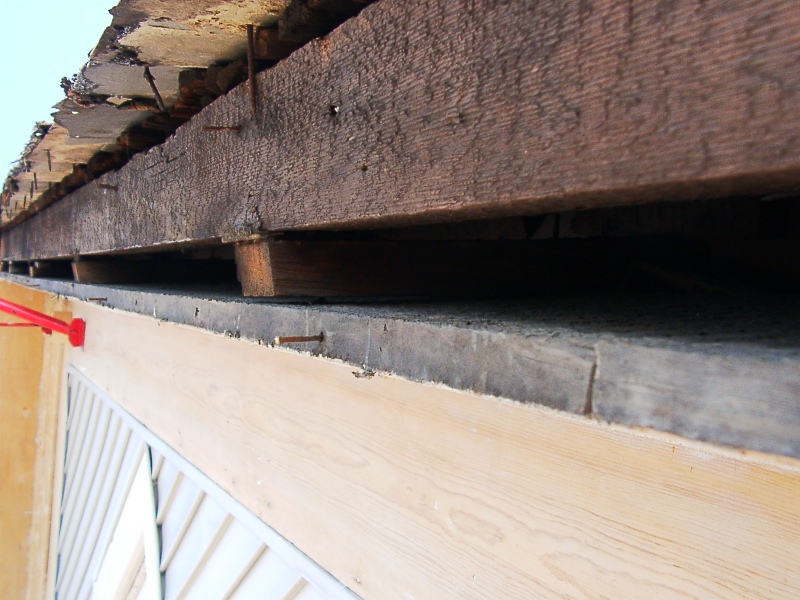
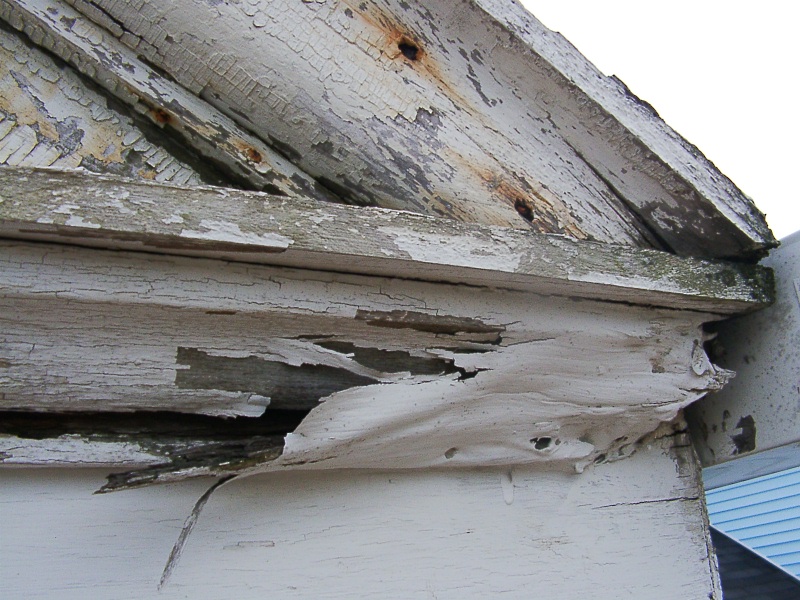
21
Here's a reminder of how bad this NW return looked. |
|
22
Someone had repaired this NW return before and did not last. |
|
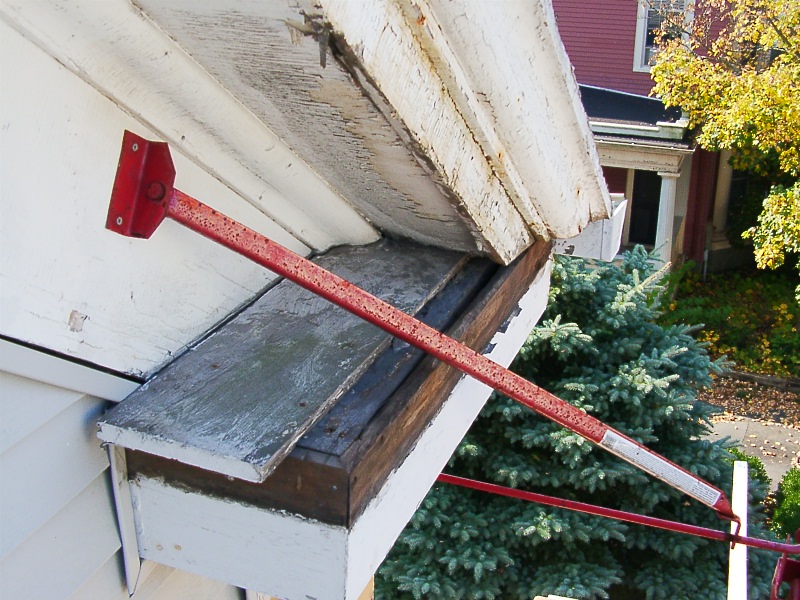
23
Here is where the old rake crown molding rested on the return cap. I installed lead flashing under the new molding I'm about to install. |
|
24
The peak is ready for the new rake crown moldings as well . |
|
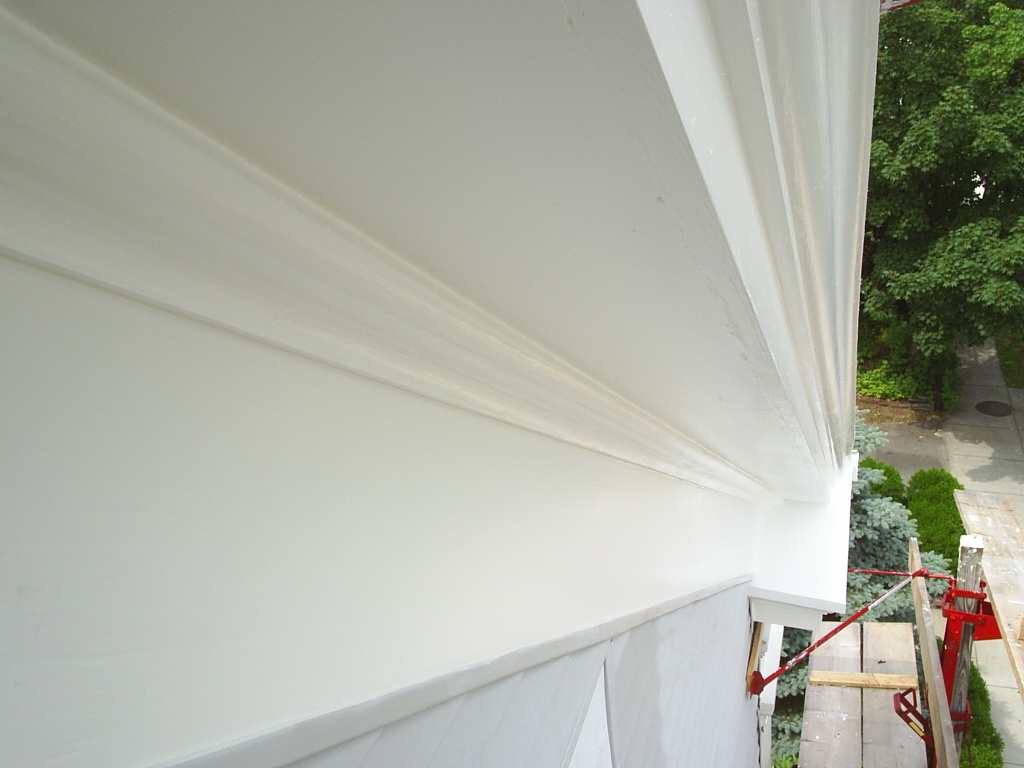
25
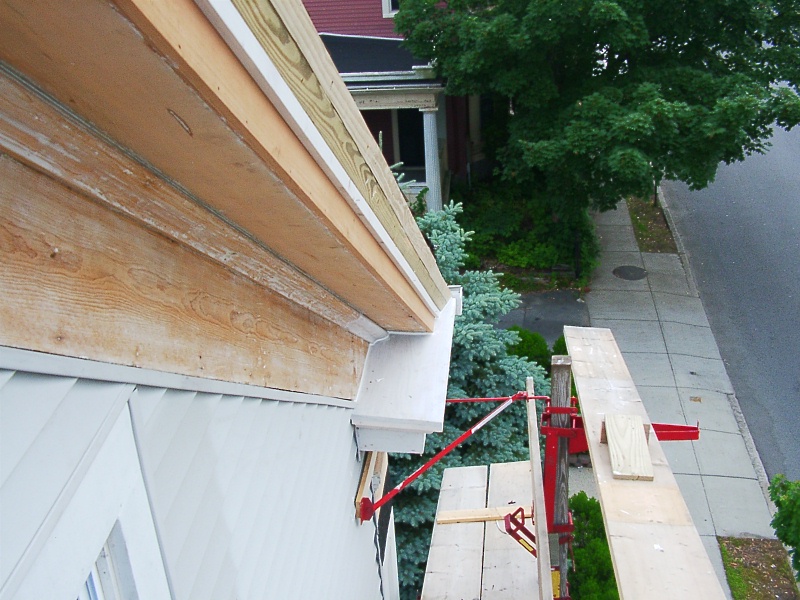
This is a look down along the NW rake. I re-nailed all the work with 8d ring shanked (for holding power) stainless steel (won't rust or corrode) nails. |
|
26
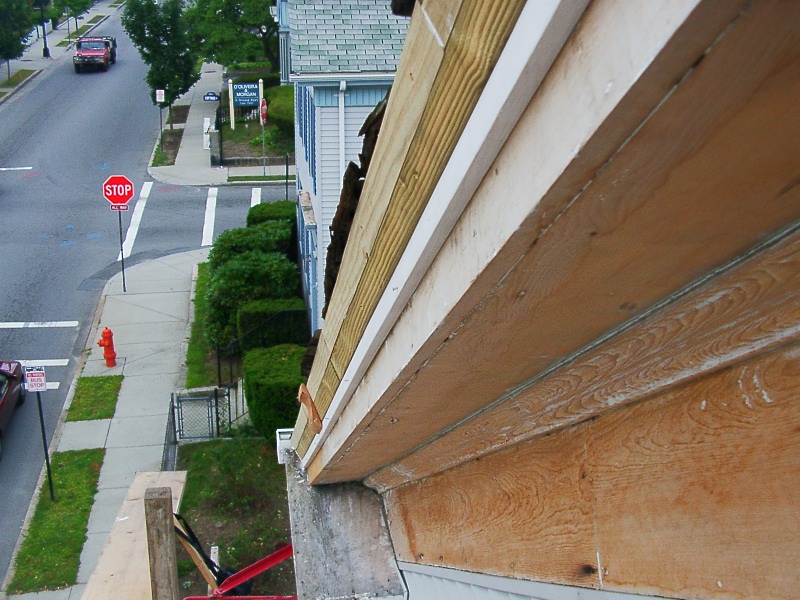
And this is look down along the NE rake. I set all nails with a nail set hand punch and added a few stainless steel screws here and there for greater insurance against movement (movement is paint's enemy). |
|
|
28
and filled all nail holes and voids with Durham's rock hard putty. I then primed again to seal the caulk and filler... |
|
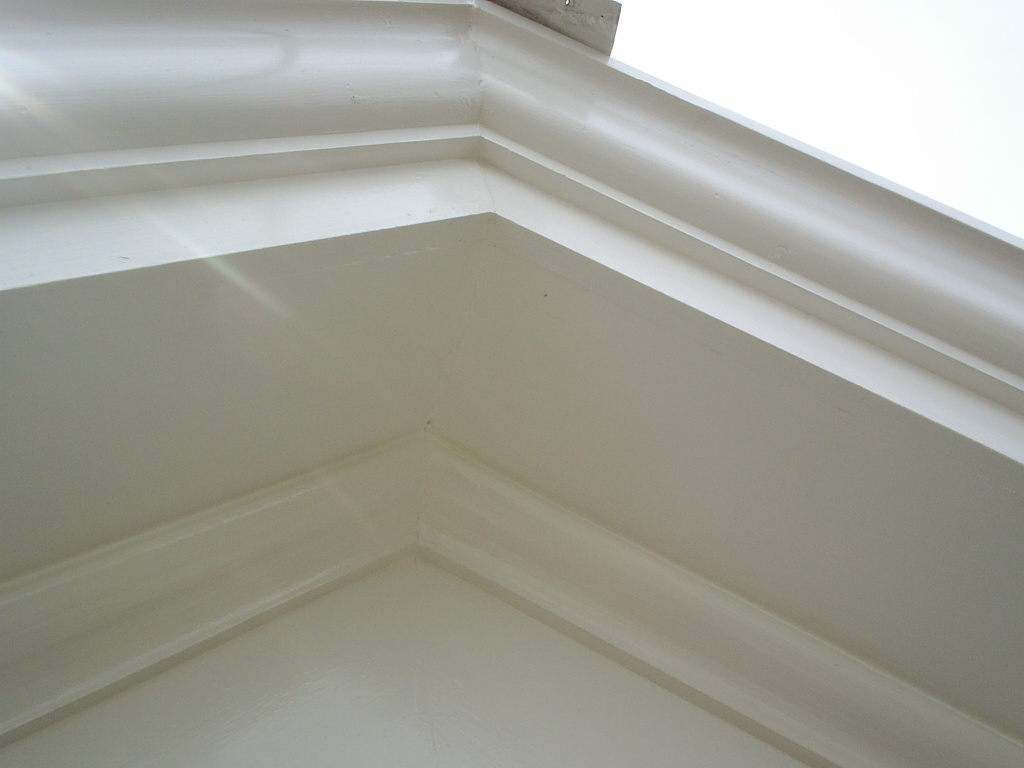
29
I then applied two coats of finish. To see and read more about my painting technique see the NW corner boards section. |
|
30
This stagging is about to come down. It served me well and made this job possible. I heard more that one motorist yell out their window in passing that I was nuts, lol. |
|
 There are 31 reduced sized photos along with descriptions to view as you scroll down this page. Click on any of these photos to see the close up details from the original photographs. Use your back button to return to this page.