

| Part I you are here |
Part II |
Part III |
|

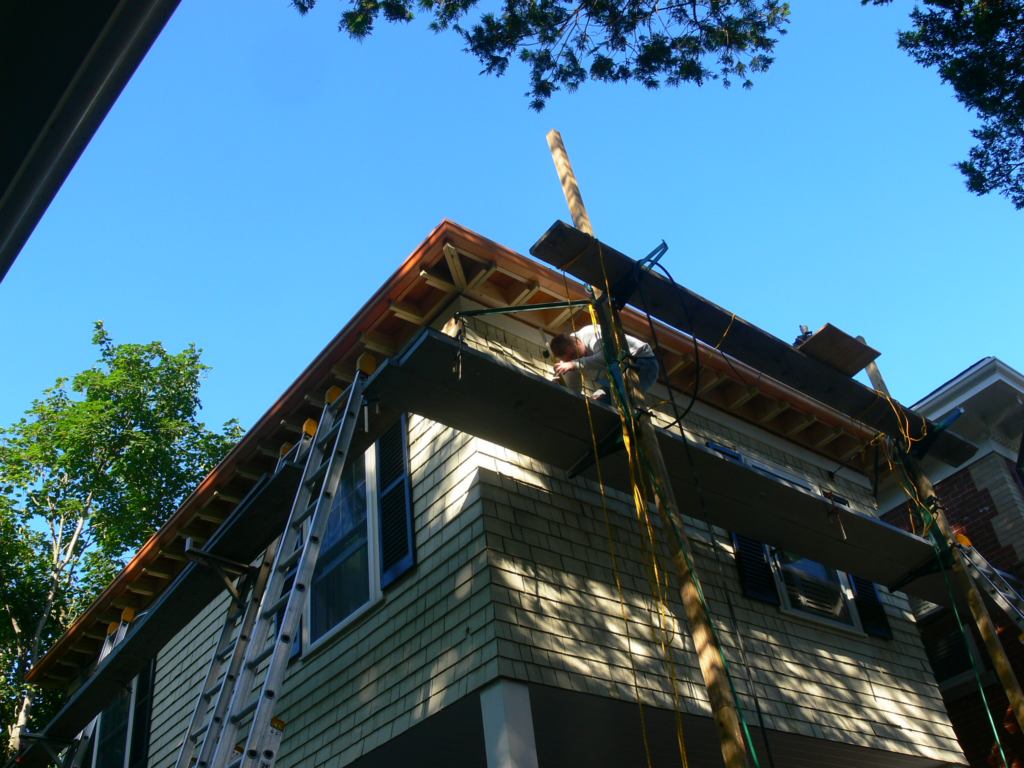
| A beautiful early 1900's home with an addition from the 1960's that is sorely lacking any cornice details. |

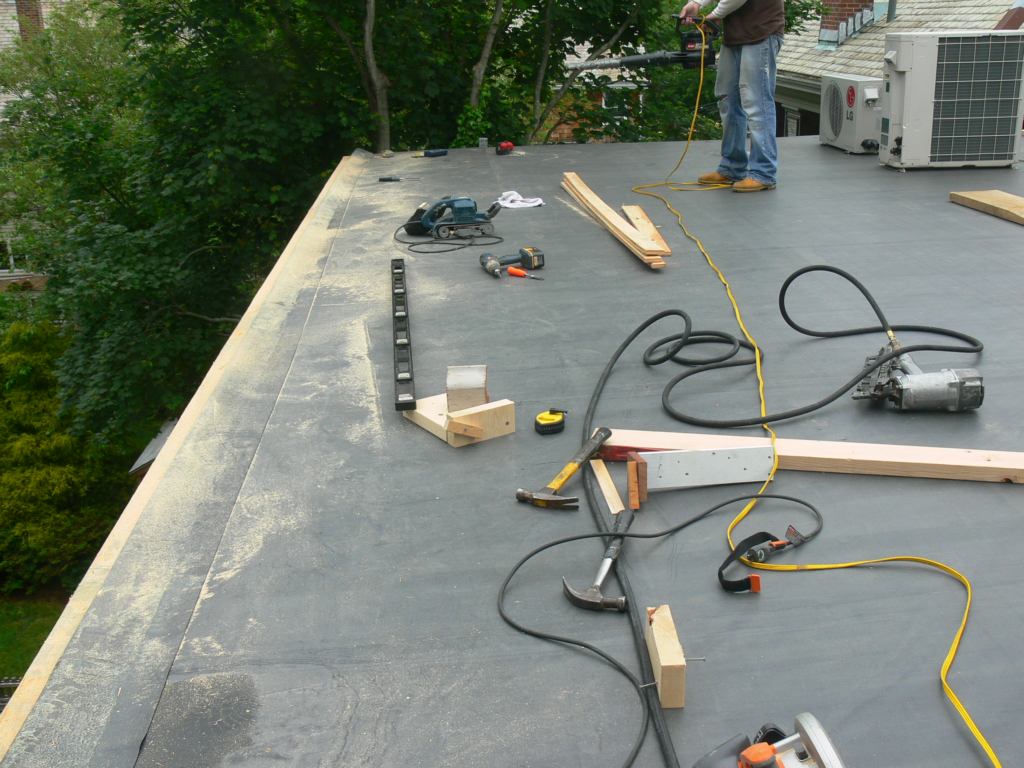
| The main house has a beautiful cornice, and soon this addition from the 1960's will as well. Here stagging is being setup on the east side. We've already reframed, sheathed and rubbered the roof above. The plywood roof decking was left long in preparation of this cornice job. |
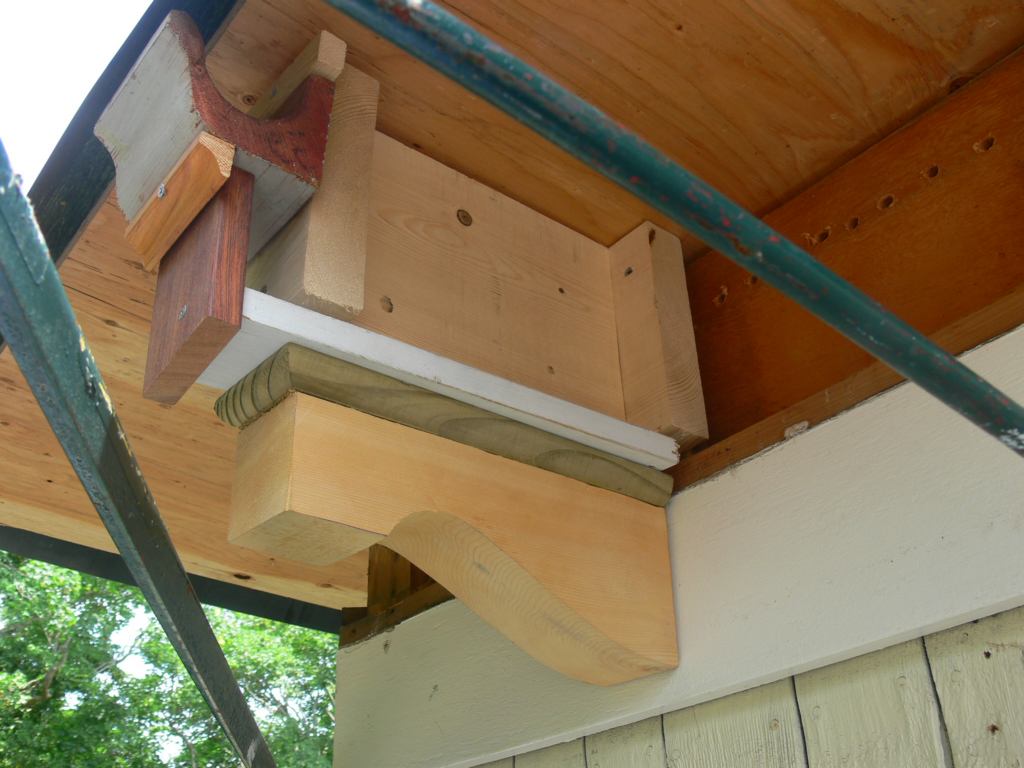
| This is a mock up showing the elements that will be need to make this cornice happen. (Notice the venting holes in this shot) |

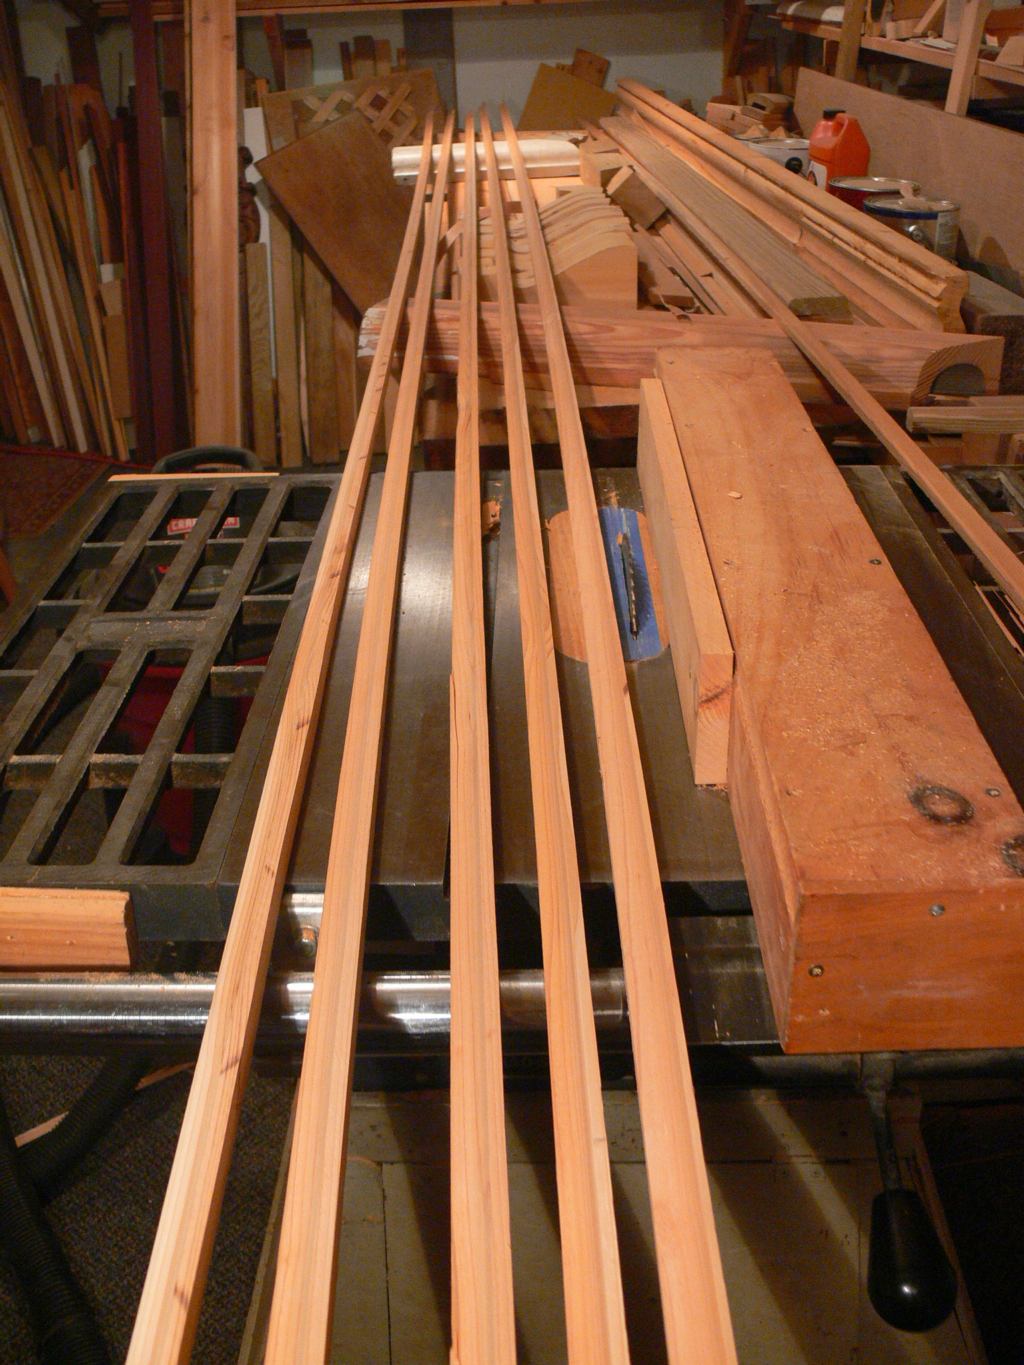
| This is all the framing lumber that will be needed, approximately $200 worth. (hand picked for straightness) |

| After carefully removing the valuable western red cedar trim boards for later re-use, a 2x8 framing band was installed to a stretched masons line ensuring a sag free installation. The top of the band on this side of the building was shimmed out at the top with a continous strip, tipping it to match the low very low slope of the existing roof rafters. |

| Nice and staight, the unfastened plywood is curling up. |
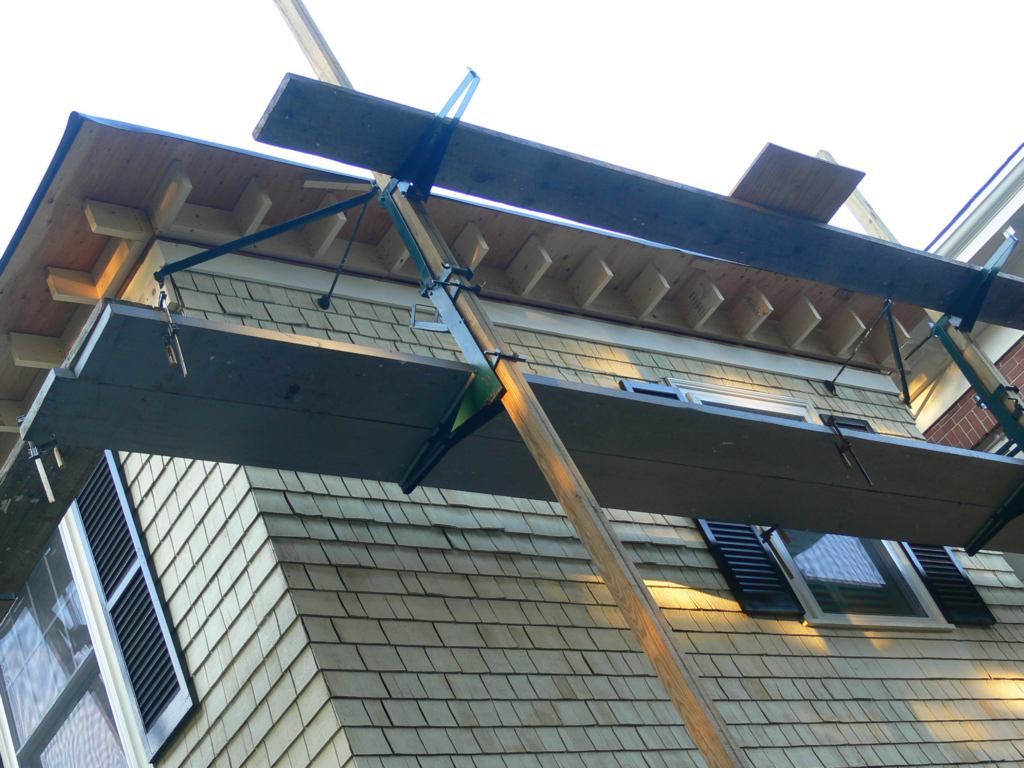
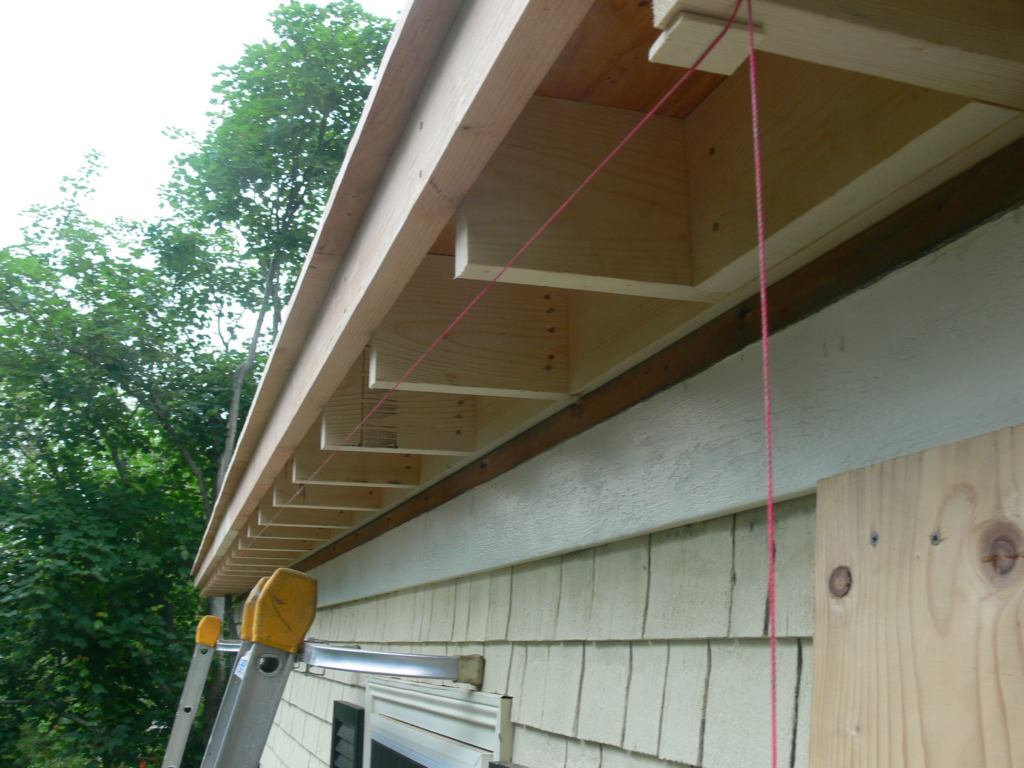
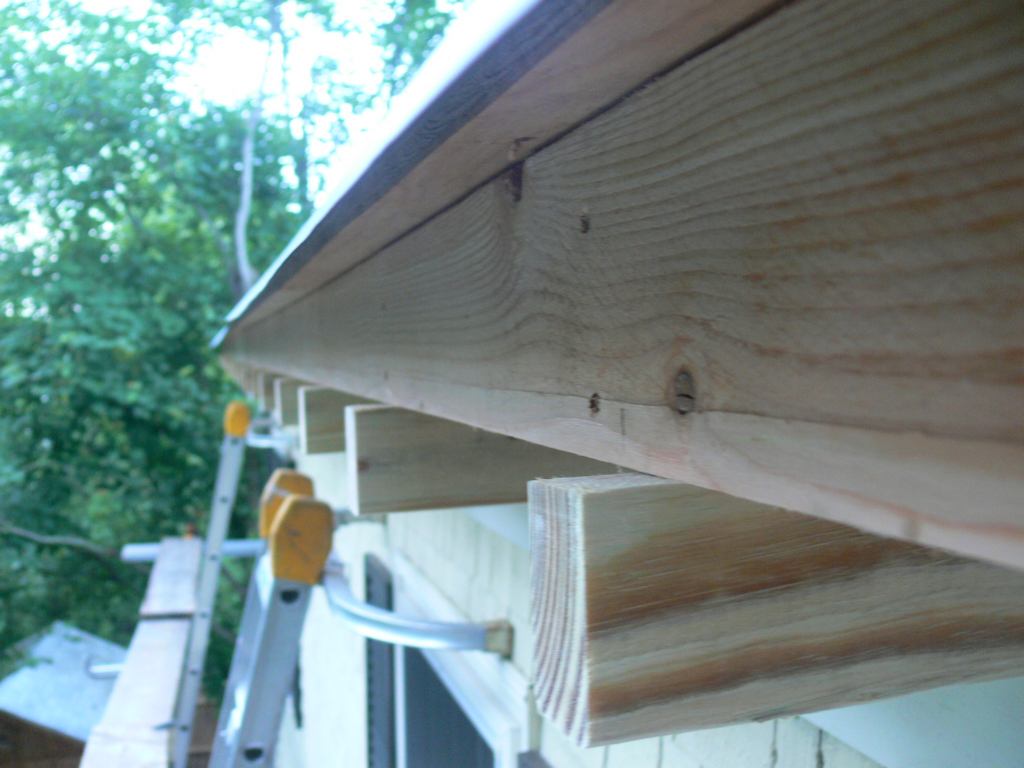
| The framing is now taking form. What a difference having an overhang. It adds both form and function. |
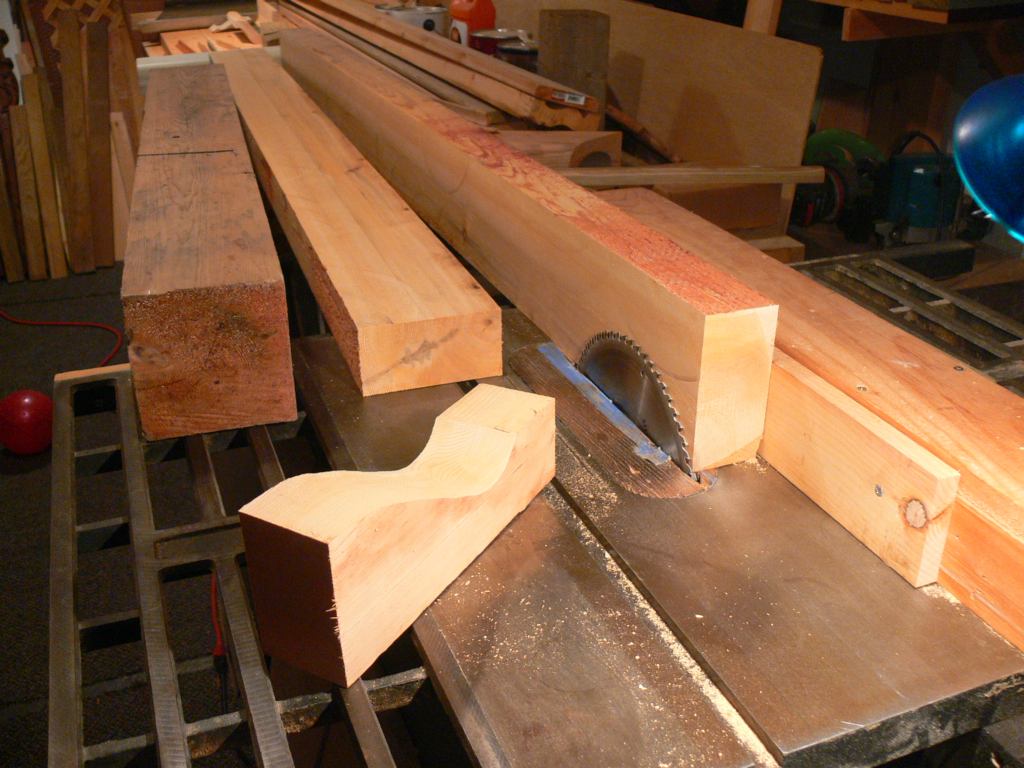
| Taking advantage of a rainy day, work began on the corbel blocks. 6x6 white cedar fence post stock is ripped in half. |
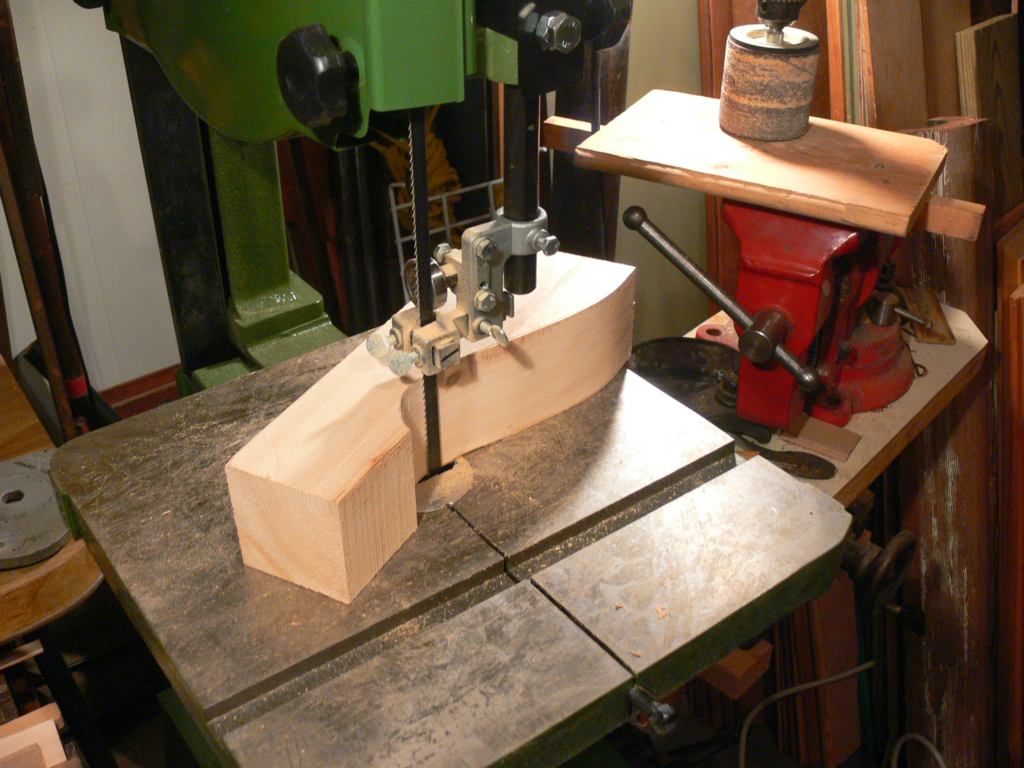
| The first corbel cut out with the band saw. The 3" drum sander cleans up the saw marks nicely. |
| With a break in the rain its back to framing. The roof deck plywood is being trimmed back to a straight line. |
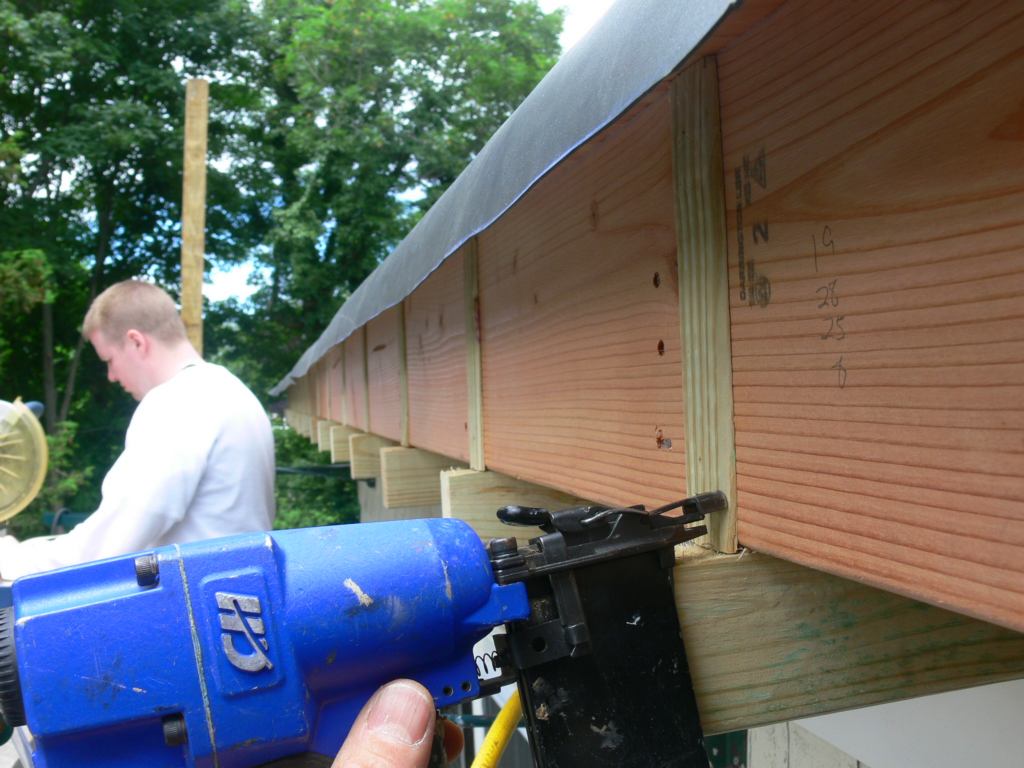
| The plywood was hurricane nailed every 4" into the outside band joist using galvanized 10d ring shanked nails. |

| Rain again but progress is being made. |

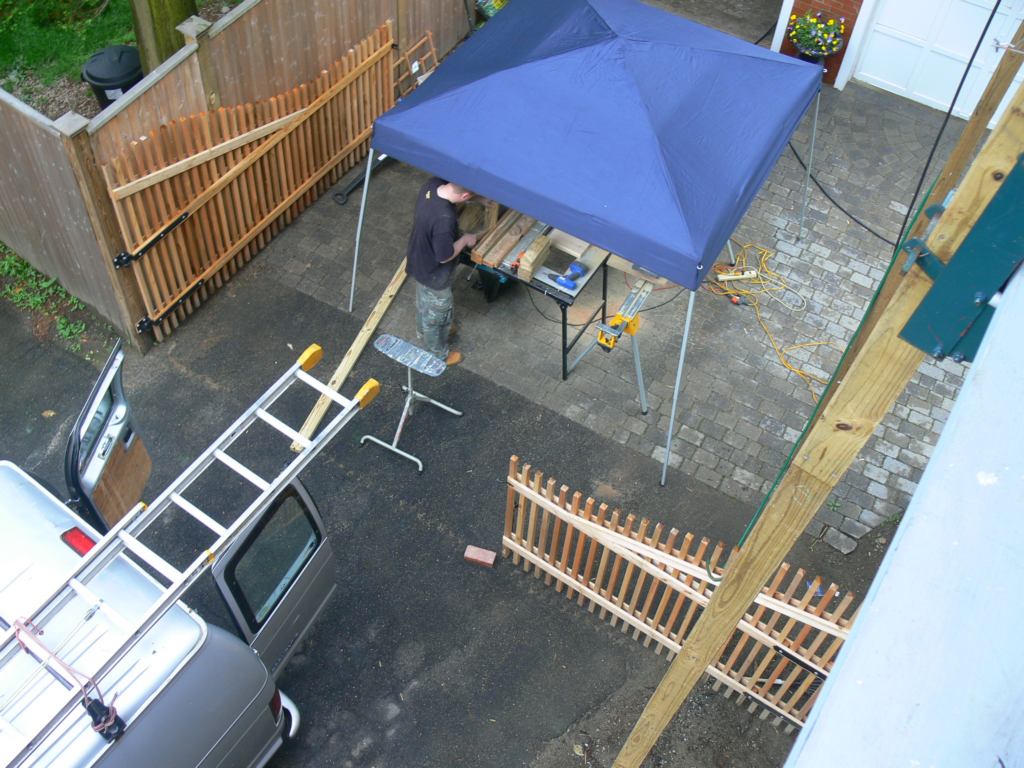
| Stevie wants to cut the grass even if its raining a little. |

| Tom is carrying up one of the tapered outside bands for the east side. |
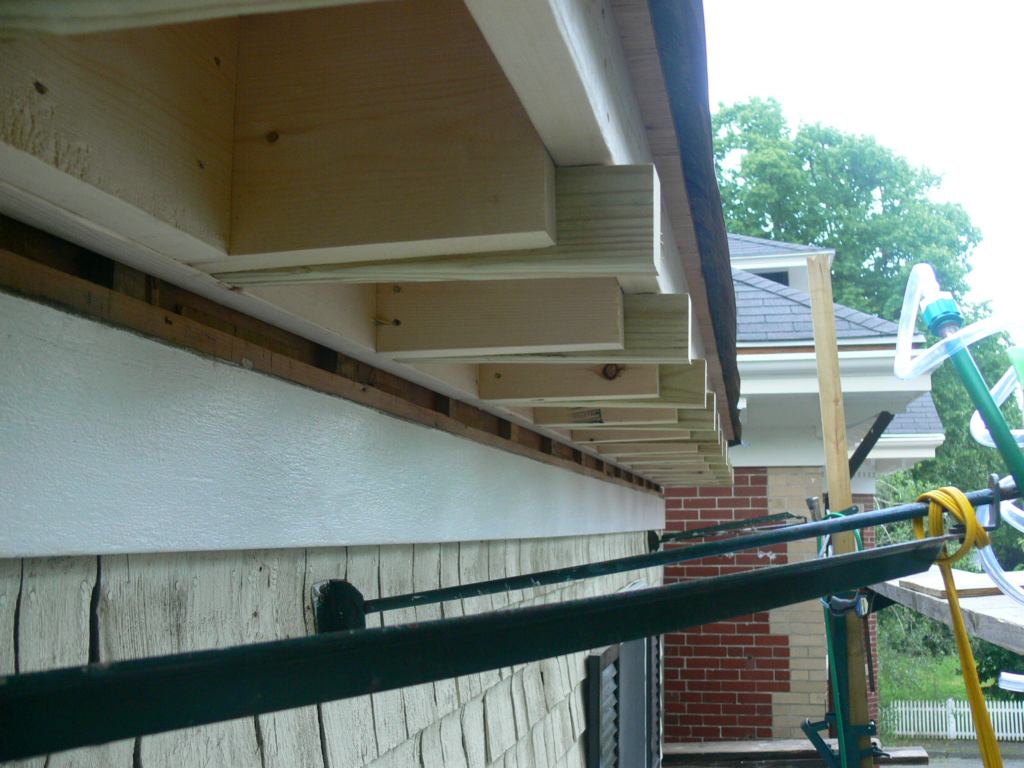
| The final framing element are these custom notched pressure treated lookouts. They are sistered to the lookouts pitching down. This will ensure that if any water ever gets inside this overhang it will not back up into the building but rather drip out the venting that will be installed between the fascia and soffit. |
| Tom is making the PT lookouts while I install them. |
| The wood gutters will sit on these lookouts. The fascia boards will attach to their ends and soffit boards to their underside. Again, if any water ever gets in here, which I'm positive will not, pressure treated was used for these nailers for added insurance against the failure from rot. |

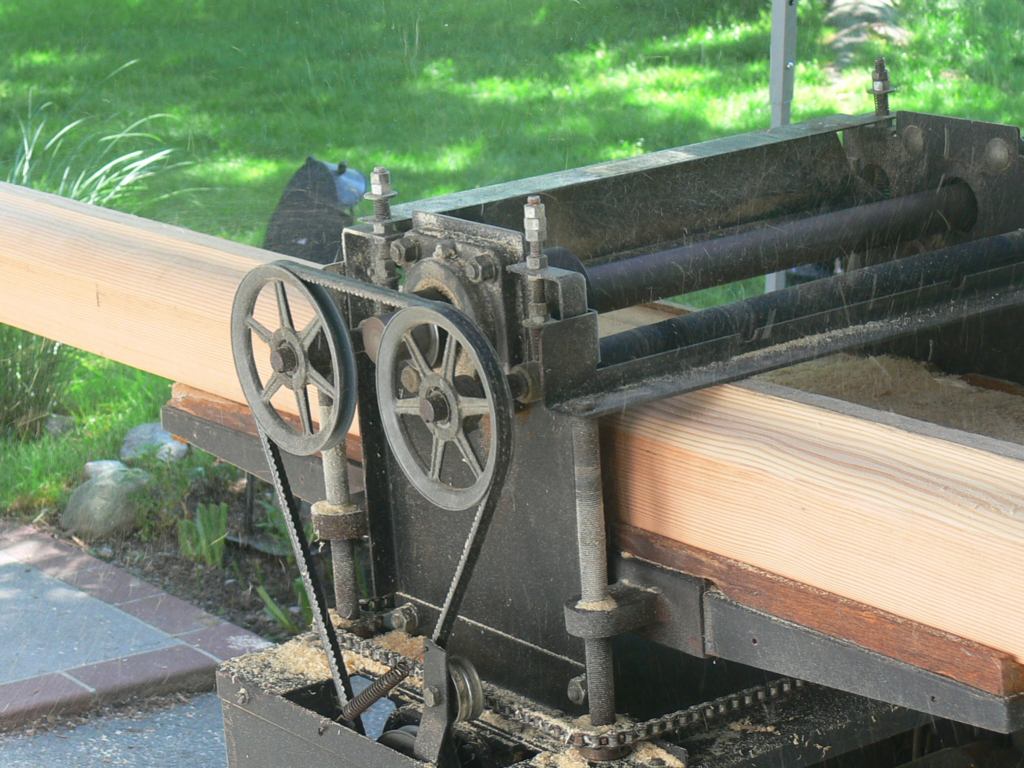
| There is only on kind of wood gutter available today and its profile does not not match the "ogee" profile of the old world gutters. Since this is what is needed I've ground my own knife to re mill these wood gutter profiles with the 718 woodmaster planer/moulder moulding historic wood gutter |
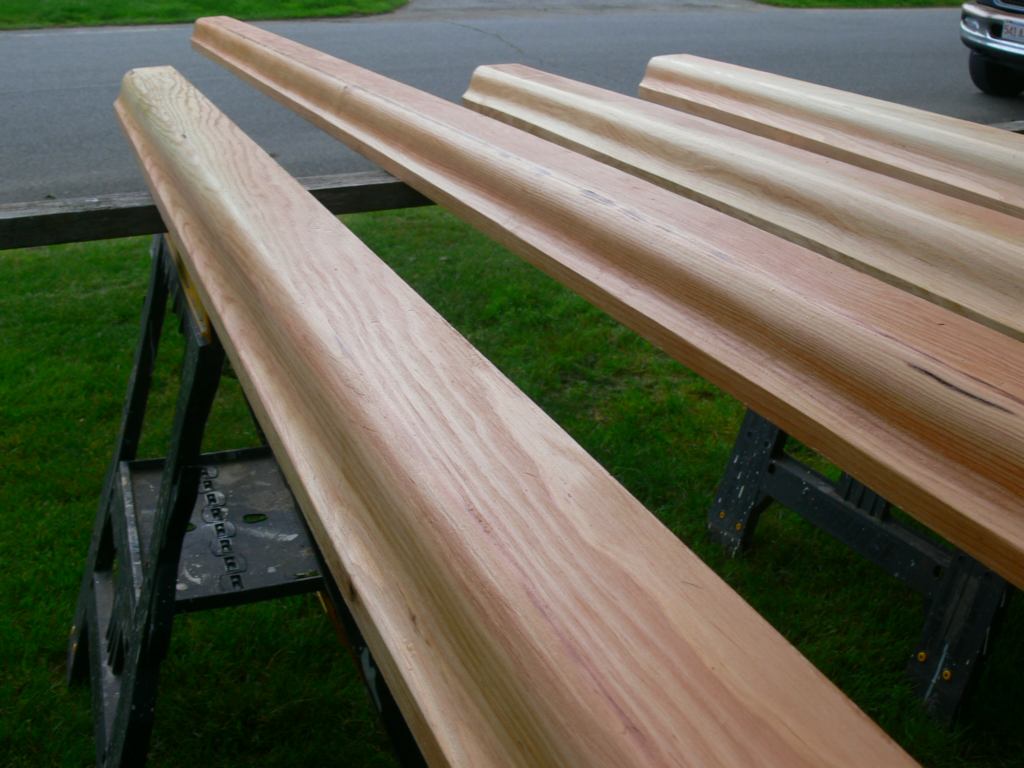
| From a different angle. Notice the difference in profile now.. |

| There is only one company in Rhode Island that stocks the Boston style Douglas Fir gutters from the west coast and that is L. Sweet Lumber in Providence. Lucky for us they re-stocked the day before we arrived so there was there plenty to choose from. |

| Sanding out the mill glaze. |
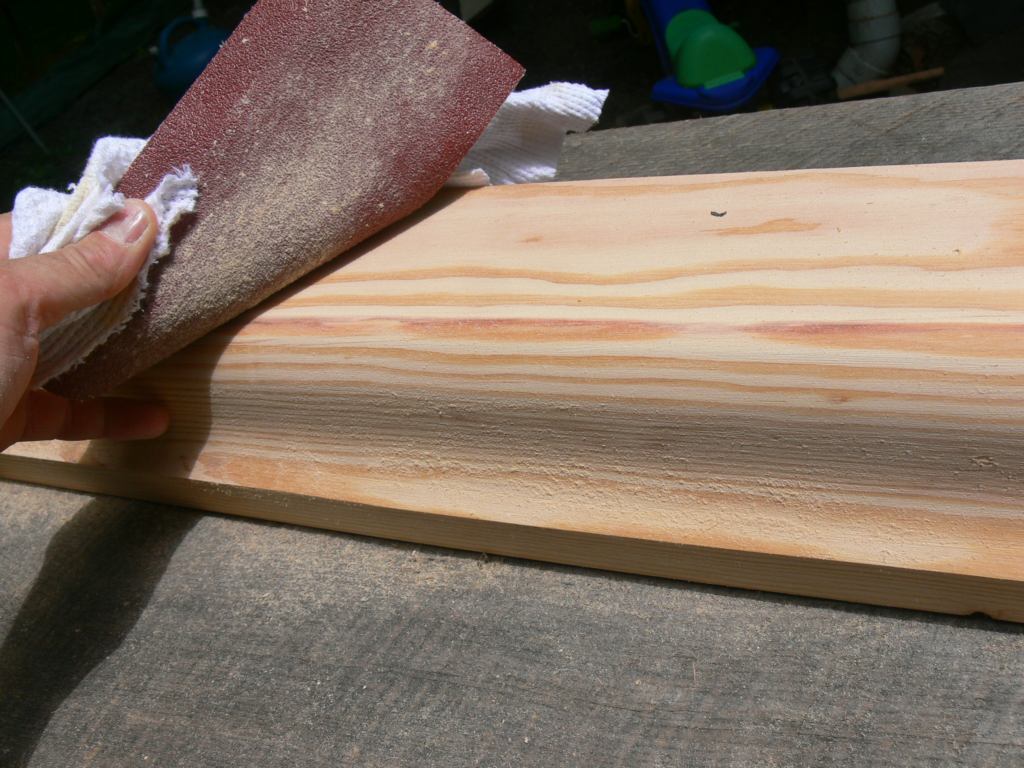
| This is now a custom gutter. You can't buy this at any lumber yard. |

| Tom is sealing the new wood gutters with Geocel's clear brushable liquid rubber . Apply at a rate of 1/16" to 1/8" per coat. We like to do two coats on the ground and a final coat after installation to cover all fasteners and joints. Do not apply in direct sun as the product will skin over traping solvent below the skin creating bubbles. Here is where to get it. This product is paintable and dam near impossible to remove. It will never crack as its flexable and will expand and contract with the wood's seasonal changes. |
| A few hours later the liquid rubber is tack free and will be at full cure in 24hrs, ready for paint. This product is better than any primer in that its adhesion is unbelievable. Just try and remove this stuff, lol. These custom milled fir gutters could be weighted at the bottom of a pond for years and never get wet. |
| Store bought moldings only come in pine and oak. Pine used outside molds and easily rots. So for longevity I milled these cove moldings from clear cedar. |

| The 80' of custom cedar cove, sanded, dusted, rubbered and set out to cure under a proctective overhang as rain is possible tonight. Tomorrow is installation day. |
| Prior to the wood gutter installation some PT spacers were added to promote ventilation. |

| All miter joints where made up with test pieces and then measured. Cut to the exact dimensions on the ground and hauled up with ropes. |
| The gutters are up. All one piece, with tight joints. |

| Once the fascia and soffit are installed the flat bottom of the gutter will be hidden |
| Part I you are here |
Part II |
Part III |
| rubbered flat roof | south gutter |